Instructions for the setup of Project Preferences within the Inroads suite of applications |
  
|
Instructions for the setup of Project Preferences within the Inroads suite of applications |
|
Introduction
The release of CADtools MicroStation 2.3 incorporates updates to the Civil.xin and Civil.itl files currently deployed as part of the CADtools set-up, as well as some additional XSL reporting files.
Should a project be mid-flow and these changes not be required, then the following text provides instructions on how to make the previous information available.
Note: The files noted above are copied from the office 'P' drive storage location to the local 'C' drive of the client machine during the Inroads application startup routine. This process does not give a user warning of this update. By default the Inroads applications will automatically operate using the files located on the local machine.
There are 3 steps to follow (detailed below):
1. Check the current project configuration
2. Copy the CadSN 2.2 files to the project
3. Edit the Project Defaults within Inroads
•Locate the "Application Data" folder for your project. This will typically be within the root of the "Drawings" folder.
•Check to see if the sub-folders have any .XIN or .ITL files stored within them. If there are either files in this location, you will need to take care when copying the CadSN 2.2 files to your project, as the presence of these files implies that there is already a project configuration. If you are unsure why these files are there, please contact the CADtools.Bentley_InRoads support team for advice.
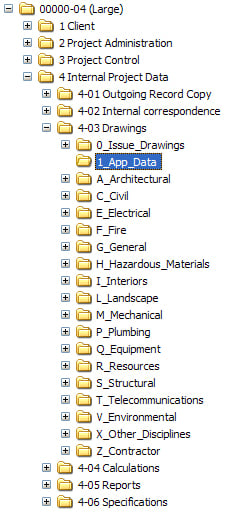
•Within the "Application Data" folder for your project, create a "XIN" folder and an "ITL" folder.
•Copy the Civil.xin file from this folder to your project XIN folder. Copy the Civil.itl file from this folder to your project ITL folder.
Once the relevant files have been added to the project "Application Data" folder location, these files need to be activated for use within Inroads through the Project Defaults settings.
•Open an Inroads session.
•From the File menu within the Inroads dialog select "Project Defaults..."; this will open a separate Set Project Defaults dialog:
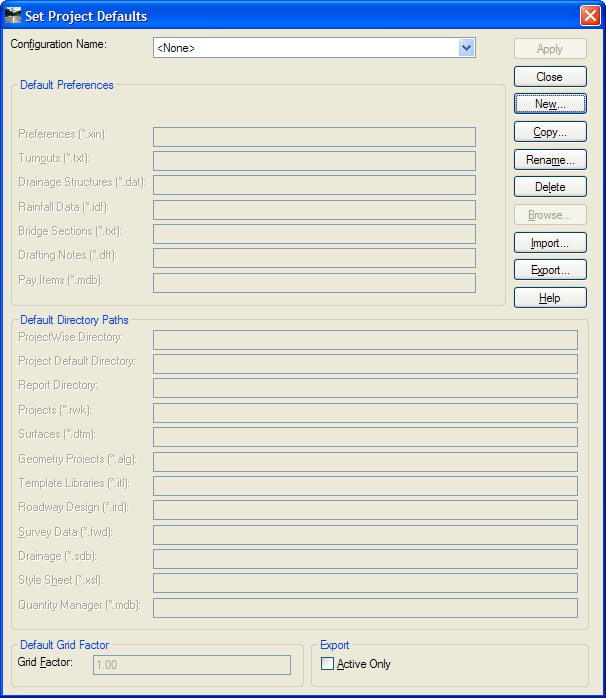
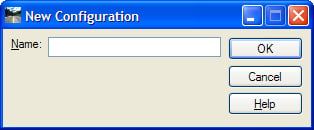
•Within the Set Project Defaults dialog select the New button; this will open a seperate New Configuration dialog
•Enter an appropriate name
•Now within the Set Project Defaults dialog select the Preferences text box, select the Browse button and navigate to the location of the Civil.xin saved within the project folders as noted above.
•Then select the Template Libraries text box, select the Browse and navigate to the location of the Civil.itl file saved within the project folders as noted above.
•Finally select Apply to confirm the changes and close the dialog
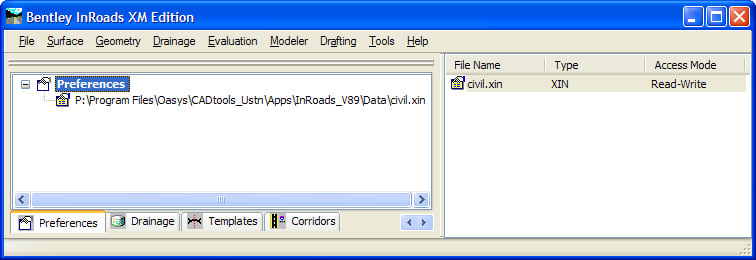
Note: to check that the changes have taken effect, select the Preferences tab within the Inroads dialog, the file path and file name of your project folder and file should be listed.
The Project Defaults information is stored in the registry of the machine. To access this information in future Inroads sessions:
•Open Inroads
•Open the Project Defaults dialog
•Select the Configuration options from the drop down at the top of the dialog (Note: The list of configuration options are taken from the name given to each New Configuration when set-up).
Direct link to this topic:
© 2013 Arup