Embedding 3d PDF data in 2d PDF documents or drawings |
  
|
Embedding 3d PDF data in 2d PDF documents or drawings |
|
Note: Embedded 3D PDF from Bentley Microstation, can only be read using Version 8 Adobe products
1. Create all your required saved views within your model space, make sure you have opened the model file the correct pcf file.
NB: - this is important as material definitions are loaded automatically from the dataset upon opening the model file.
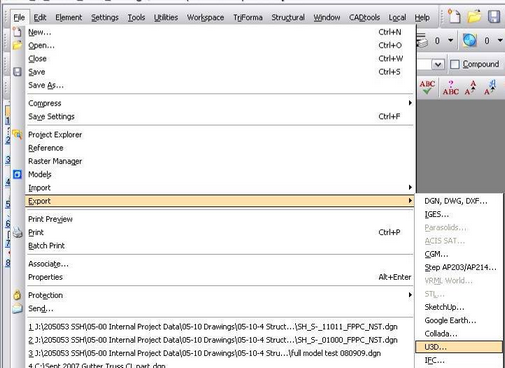
2. On the main toolbar under File, Export, U3D
This exports the 3D model into native PDF information. This cannot yet be read in Adobe Reader.
3. Plot your sheet file to PDF via CADtools with space for the 3D PDF in the usual manner.
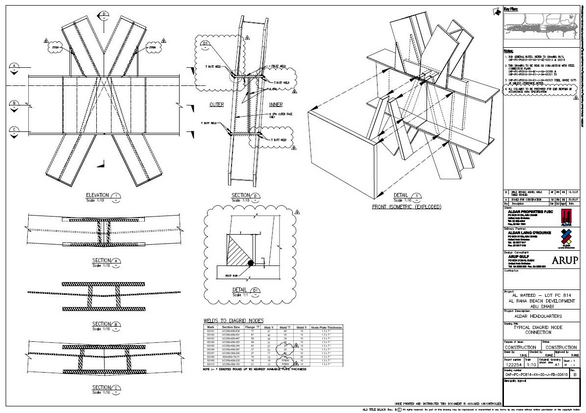
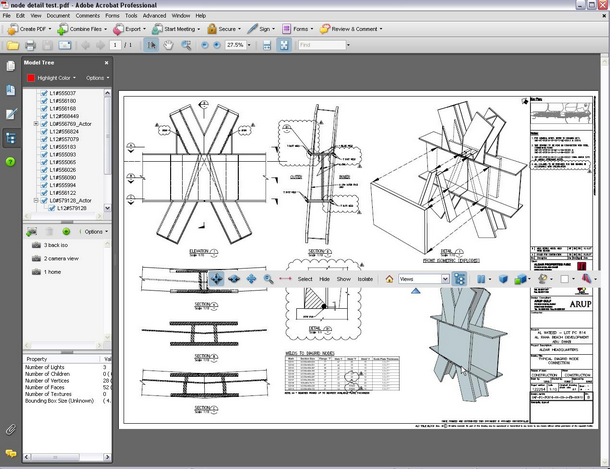
4. Open the PDF sheet file in Adobe Acrobat Professional or Adobe Acrobat 3D (version 8). The requirement for this software is the addition tools both packages provide for U3D file insertion.
5.In Adobe Acrobat Professional or Adobe Acrobat 3D on the main tool bar go to Tools, Advanced Editing, 3D Tool
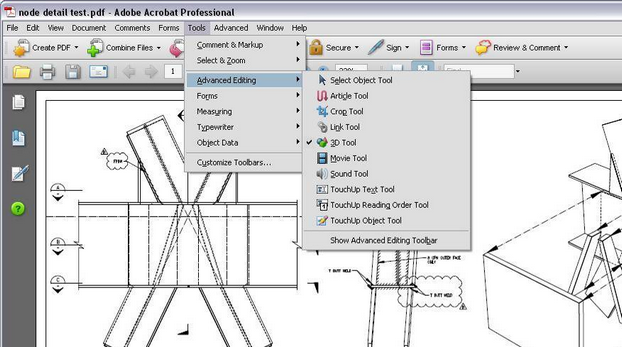
6. Pick the first point on the PDF sheet, keep your finger pressed down on the mouse and drag to the second point to form the window in the required position for the 3D PDF.
7. A dialog box will appear Add 3D Content,
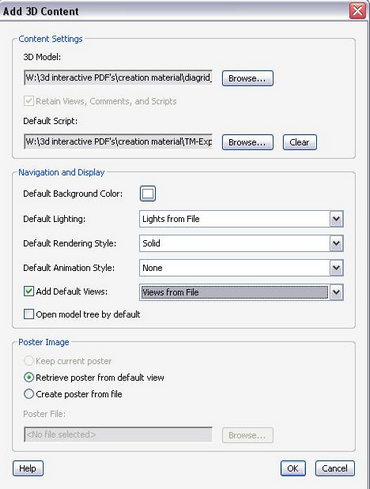
Modify the following items:
3D Model : browse to your U3D location
Default Script : (if you have a key frame animation as part of the 3D PDF, if not leave as default)
Default Background Colour : change to white
Add Default Views : tick the box to import saved views from model
Click OK
8. The model that appears in the window is a default view created within the U3D export from Bentley Microstation. To create the default view that displays when opening the PDF do the following.
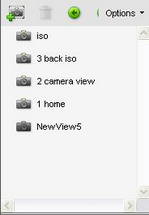
When the sheet file is opened the embedded 3D PDF toolbar displays, using the orbit, pan and zoom tools in the view box orientate your view contents.
In the view display, (middle left panel), use the button with the + sign adjacent to the camera to capture a new custom view. A NewView title will appear (NewView5 below)
9. Save, close and reopen the sheet PDF document. On the main tool bar go to Tools, Advanced Editing, 3D Tool this will enable the 3D PDF.
Right click on the 3D PDF and go to Properties, Manage Views
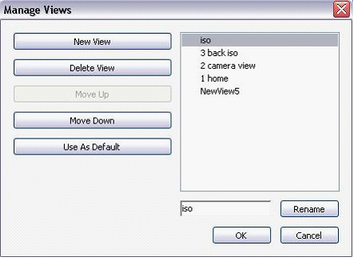

Highlight the ‘NewView’ name, rename to something relevant and move up to the top. Set the view as default using the Use As Default button.
Save and exit
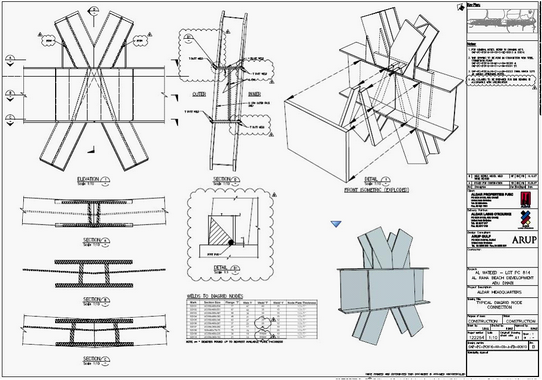
10. When the sheet file is reopened the 3D PDF view shows the saved view that was created and set as default.
Direct link to this topic:
© 2013 Arup