Note: Some projects may be set up to only allow the use of preset options, therefore manually selecting options will not be available.
•Select the PDF/TIFF/JPEG file radio button

•Selected the type of file to create from a drop down list of available file types.

•Select the quality of the file to create.

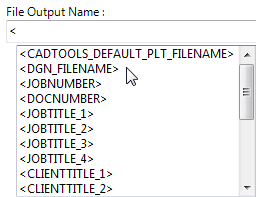
•Select the file output name, this can be made up of a number of tag values, it defaults to <CADTOOLS_DEFAULT_PLT_FILENAME> but if you type < a list of available tag names will appear as a drop down list (multiple combinations of these can be used) a full list of available tag names can be found here.

an example of the file output name that you create will be shown below the input box.

•Select Paper Size

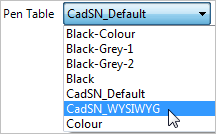
•Select Pen Table

•If a description of the selected pen table is available it will be shown below the pull down box

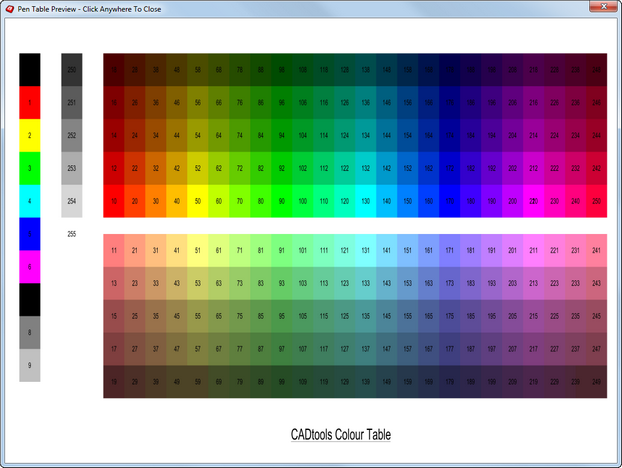
•If a preview of the selected pen table is available you will be able to click on the 'Display Pen Table preview' button to open a preview of what colors will print


Once you have selected a Quick select Print option, or manually selected all of your options you can
Click the 'Print' button to print the file you are in without opening the Microstation Print Dialog.
![]()
Click on the down arrow on the print button and select Print Current with Dialog to open the Microstation Print Dialog pre-filled with all your options.

Or Click the print Multiple button which will ask you to select the files you wish to plot and open the Batch Print Dialog which will be pre-setup with your selected options
![]()
If PDF/TIFF/JPEG file is selected, a down arrow will become available on the Print Multiple button, selecting the down arrow will allow you to select the 'Print Multiple Drawings to a Single File' option, this option allows you to print multiple files to a single PDF etc.

Direct link to this topic:
© 2013 Arup