Creating a new ProjectSettings.txt file
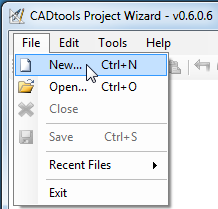
Select "File > New" from the menu
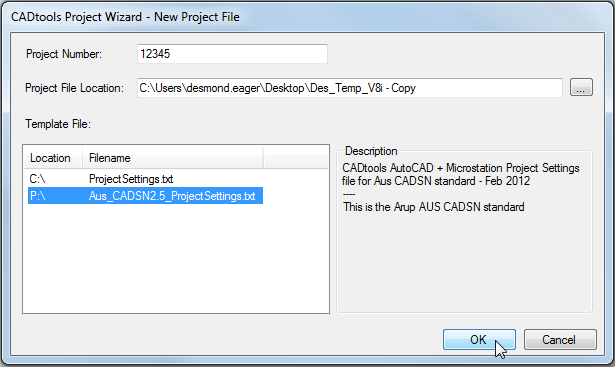
The "New Project File" dialog box will open
| • | Fill in the Project Number field |
| • | Use the browse button to find the project root directory |
| • | Select a template file from the list of available templates |
| • | Click OK |
If the directory contains a ProjectSettings.txt file already you will be prompted to Open it or Overwrite it.

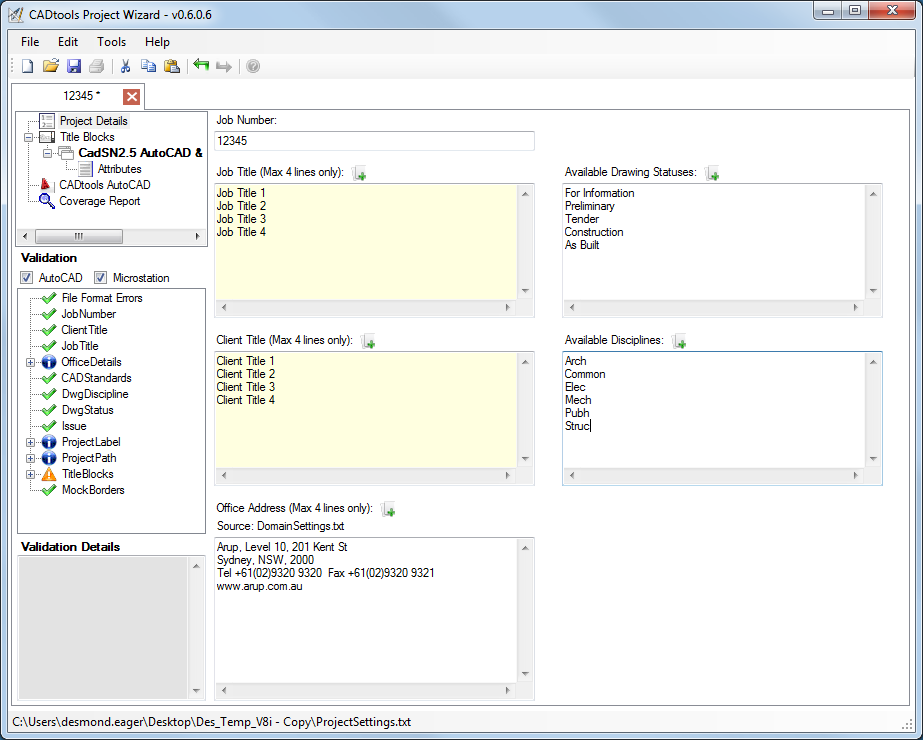
The ProjectSettings.txt file will open at the Project Details page where you should fill in the Job Title & Client Title information
Adding Drawing Borders to be used on the project
Select the Title Blocks section from the tree on the left hand side.
e.g. "CadSN2.5 AutoCAD & Microstation" as shown highlighted in blue below.
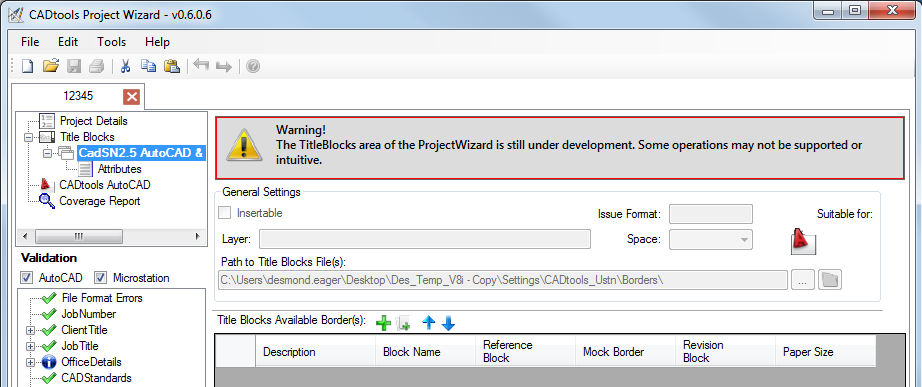
Borders can be added by selecting the "Add from template" icon ![]() and choosing a source form which Drawing Border details will be copied.
and choosing a source form which Drawing Border details will be copied.
The available source are:
Standard Entries |
Copies entries from a set of standard entries installed with ProjectWizard (uses default CADSN Borders) |
DomainSetings.txt |
Copies entries from the DomainSettings.txt file on each office P Drive. |
Copy From .. |
Allows you to browse off and copy entries from an existing ProjectSettings.txt file. |

The "Copy Borders from Dialog" will be shown and you can select which border sizes you would like to add to the current file.
Tick the box next to the desired sizes and click Ok
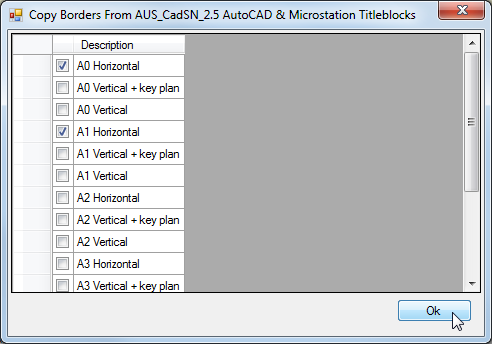
The selected Borders will be added to the TitleBlocks section of the ProjectSettings.txt file.
The Layer and Issue Format information will also be copied to the ProjectSettings.txt file.
(Note: This is only used by CADtools Microstation)

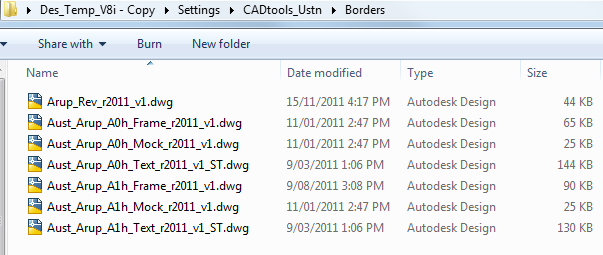
The associated files will also be copied to the Settings\CADtools_Ustn\Borders (TBC!) directory at the same time.
AutoCAD DWT's to be copied as well ? (TBC)
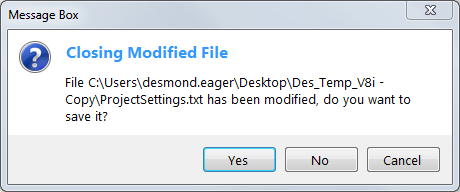
Close the file and click Yes to save it.
Direct link to this topic:
© 2012 Arup