Running the Batch Export |
  
|
Running the Batch Export |
|
To start a batch export, navigate to "C:\Program Files\Oasys\CADtools_Revit\Utilities\" and then run the "NavisworksBatchExport.exe" program.
When you start up the batch export program, you will see the following dialog:
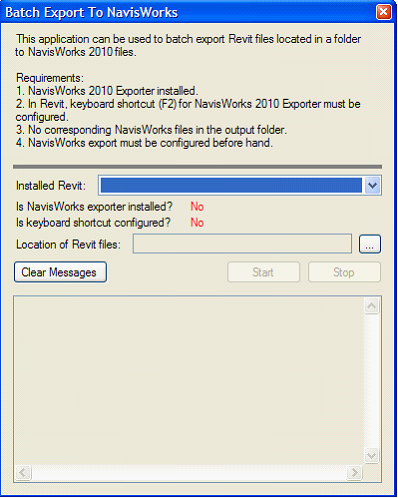
It will list all the Revit application installed on your computer, you need to select one that you have configured. The batch export will check for the configuration.


Then you need to specify the location of the Revit files. The batch exporter will export all the Revit files (*.rvt) in the specified folder.
Once everything is selected and ok, you can start the export process by clicking on the Start button.
![]() WARNING
WARNING
Once you start the batch export process, it is best to not touch the computer, and leave it running until the batch export process finishes.
The batch exporter relies on the ability to start a new Revit session, which will become the active application. Activating other applications will interrupt this process.
If for whatever reason the process stalls and the Revit application is open, simply click in the Revit window and press F2 to attempt to continue the export process. If that fails, then batch export process will need to be restarted.
Direct link to this topic:
© 2015 Arup