DesignLink Manager |
  
|
DesignLink Manager |
|
Note:
This command is only available for Revit 2010, 2012, 2013 and in Revit Conceptual mode.
Also require GSA to be installed for it to run properly.
DesignLink Manager can be used to assign Structural information to Revit elements.
Currently the following elements can be assigned with the Structural information:
•Reference point
•Reference line
•Model Line
•Shell Form
1.Starting DesignLink Manager
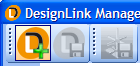
DesignLink Manager can be started via CADtools conceptual menu.
DesignLink Manager main user interface will be display on top of Revit user interface.
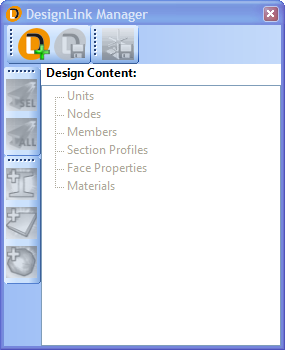
If the Revit model does not have any previous DesignLink data, then the only option available is to create a new design data.
2.Creating new design data
DesignLink data can be created by clicking on the Add DesignLink button.
Once created, the remaining options for DesignLink Manager is available.
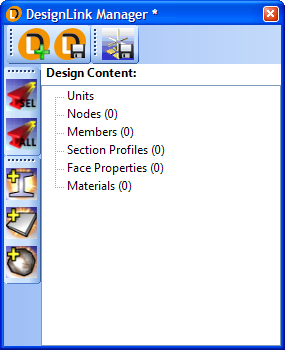
You can recreate the DesignLink data again by clicking on Add DesignLink button again. This will overwrite the previous DesignLink data.
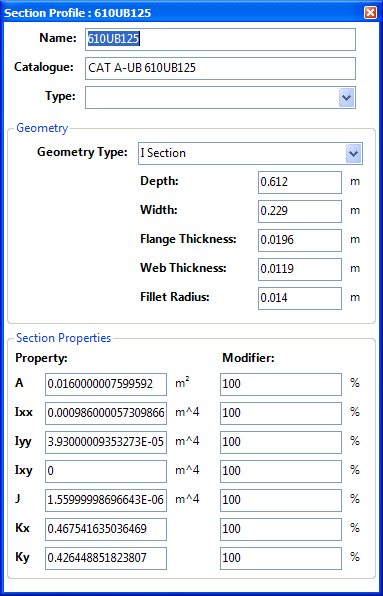
3.Add section profile
Section profiles information can be added to DesignLink data as needed. These sections profiles can later be assigned to Revit elements.
At this stage, we only supports section profiles that are defined in GSA.
![]()
You can imports multiple section profiles at one time.
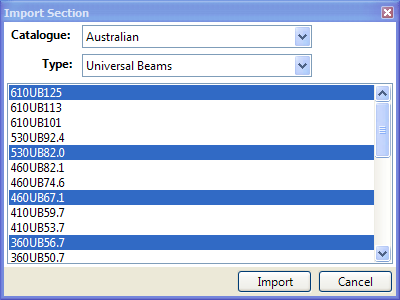
Section profile information can be view by double clicking on the section profile item in the design content tree.
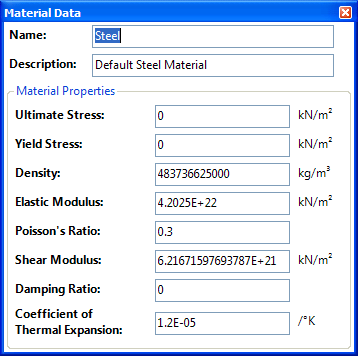
4.Add material
Materials information can be added to DesignLink data as needed. These materials can later be assigned to Revit elements or face properties.
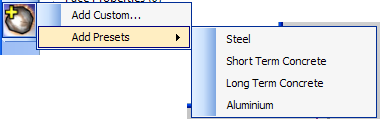
You can define a custom material information or add a predefined material information.
Material information can be viewed or modified by double clicking the material item in the design content tree.
5.Add face property
Face properties information can be added to DesignLink data as needed. These face properties can later be assigned to Revit elements.
![]()
Face property information can be viewed or modified by double clicking the face property item in the design content tree.

6.Assign structural information
To assign structural information to Revit element, select the elements you want to assign structural information, then click on Manage Selected.
The available Revit elements will be listed on the left side tree.
7.Export to GSA
To exported the elements that has structural information, click on the GSA Export. The GSA file will be named the same as the Revit file and will be located at the same folder as the Revit file.
![]()
Note: Make sure DesignLink data has been saved before exporting to GSA.
Direct link to this topic:
© 2015 Arup