This tool can be used to fill-in parameters of a Revit element by locating the element based on co-ordinate data in Excel.
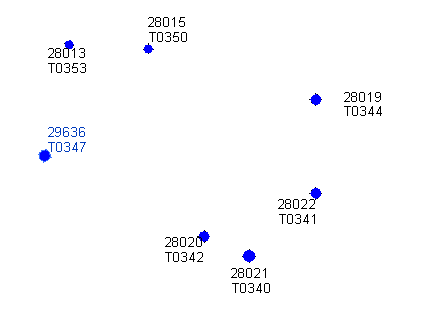
For example, the image below shows the plan layout of a number of piles that we want to assign GSA node ID to.
Each pile currently displays "?" as the node ID value.
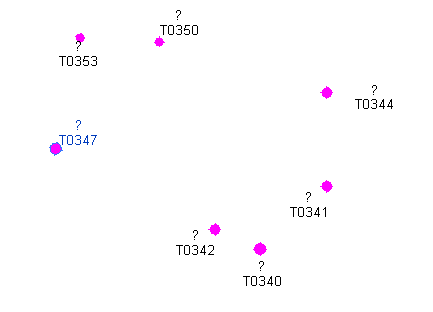
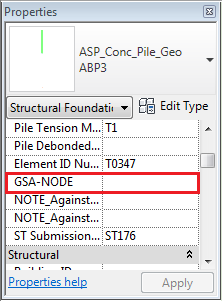
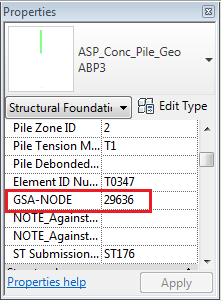
Each of the elements also has a parameter that will hold GSA node ID (in this case it is called GSA-NODE)
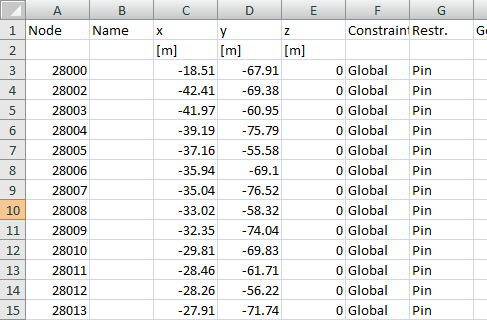
And we have a list of nodes from GSA in Excel.
Importantly, for each node there is an X Y Z coordinate (columns C, D, E), and a value we wish to push into the Revit element (column A)
From the 'Element Data' menu, select the 'Map Data by XYZ' tool, and you will get a dialog similar to the one below
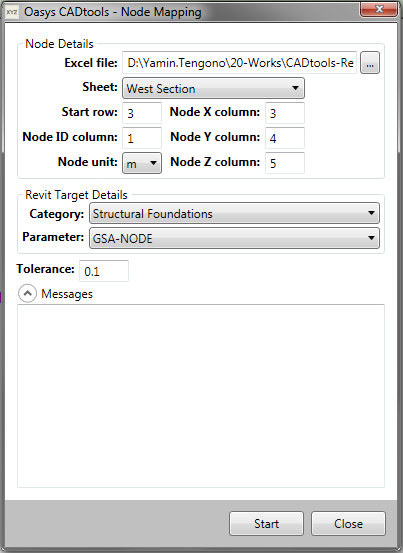
Node details (source data)
Excel File: The Excel file containing the co-ordinate data, and value to push into Revit
Sheet: The Sheet in the excel file containing the data
Start Row: The row on that sheet that contains the first record to be processed
Node X column (and Y & Z column): The number of column containing the X co-ordinate (similar to Y and Z)
Node ID column: The number of the column containing the data that should be added to the Revit elements
Node unit: The units of measurement for the X, Y and Z co-ordinate in the spreadsheet
Revit Target details
Category: The Category containing the family definitions of the Revit elements you wish to target.
Parameter: The parameter on the Revit element that will be populated with the 'Node ID' value.
Tolerance: The tolerance (in units of Revit project) that will be applied to the XYZ co-ordinates, when attempting to find elements in the given 'Category'
After setting all the required information and clicking the 'Start' button, the 'Target Parameter' will be assigned the corresponding value based on the co-ordinate in Excel (within the tolerance given).
In the example given, the 'GSA-NODE' parameter is populated with the data from the 'Node ID' column in Excel.
Direct link to this topic:
© 2015 Arup